Deploying to production
- TypeScript
- JavaScript
Now that we've built our app, it's time to deploy it to production so that we can share it with our team.
Now that we've built our app, it's time to deploy it to production so that we can share it with our team.
Deploying to the cloud
Interval doesn't host the Node.js code we've written, so you'll need to use a cloud provider of your choosing for this part. We're going to use Railway, a popular and modern cloud hosting provider, but you can use any provider capable of hosting Node.js apps. Check out the Deployments docs for guides to deploying with other popular cloud services.
If you're not already a Railway user, you'll need to install their CLI:
- npm
- yarn
npm i -g @railway/cli
yarn global add @railway/cli
Once their CLI is installed, we need to log in or sign up. One of the reasons we love Railway is that they have a free tier which allows you to run an app like the one we're building entirely for free. To log in or sign up:
info
If you are already a Railway user, note that adding a new deployment may incur additional charges depending on your current usage.
railway login --browserless
Open the link returned by this command in your browser and complete the steps to login or create an account. A "pairing code" will be displayed in the browser which should match the code displayed in your terminal. Clicking Verify in the browser should successfully complete your login session.
tip
If this is your first time using Railway, you'll now need to verify your account.
Now that you're logged in, we need to create a project in Railway. In your terminal:
railway init
Choose Empty Project and enter any name you want for your app. We used "refund-app."
Railway will ask you if you want to import your environment variables. Type N since we're going to use different environment variables for local development versus production.
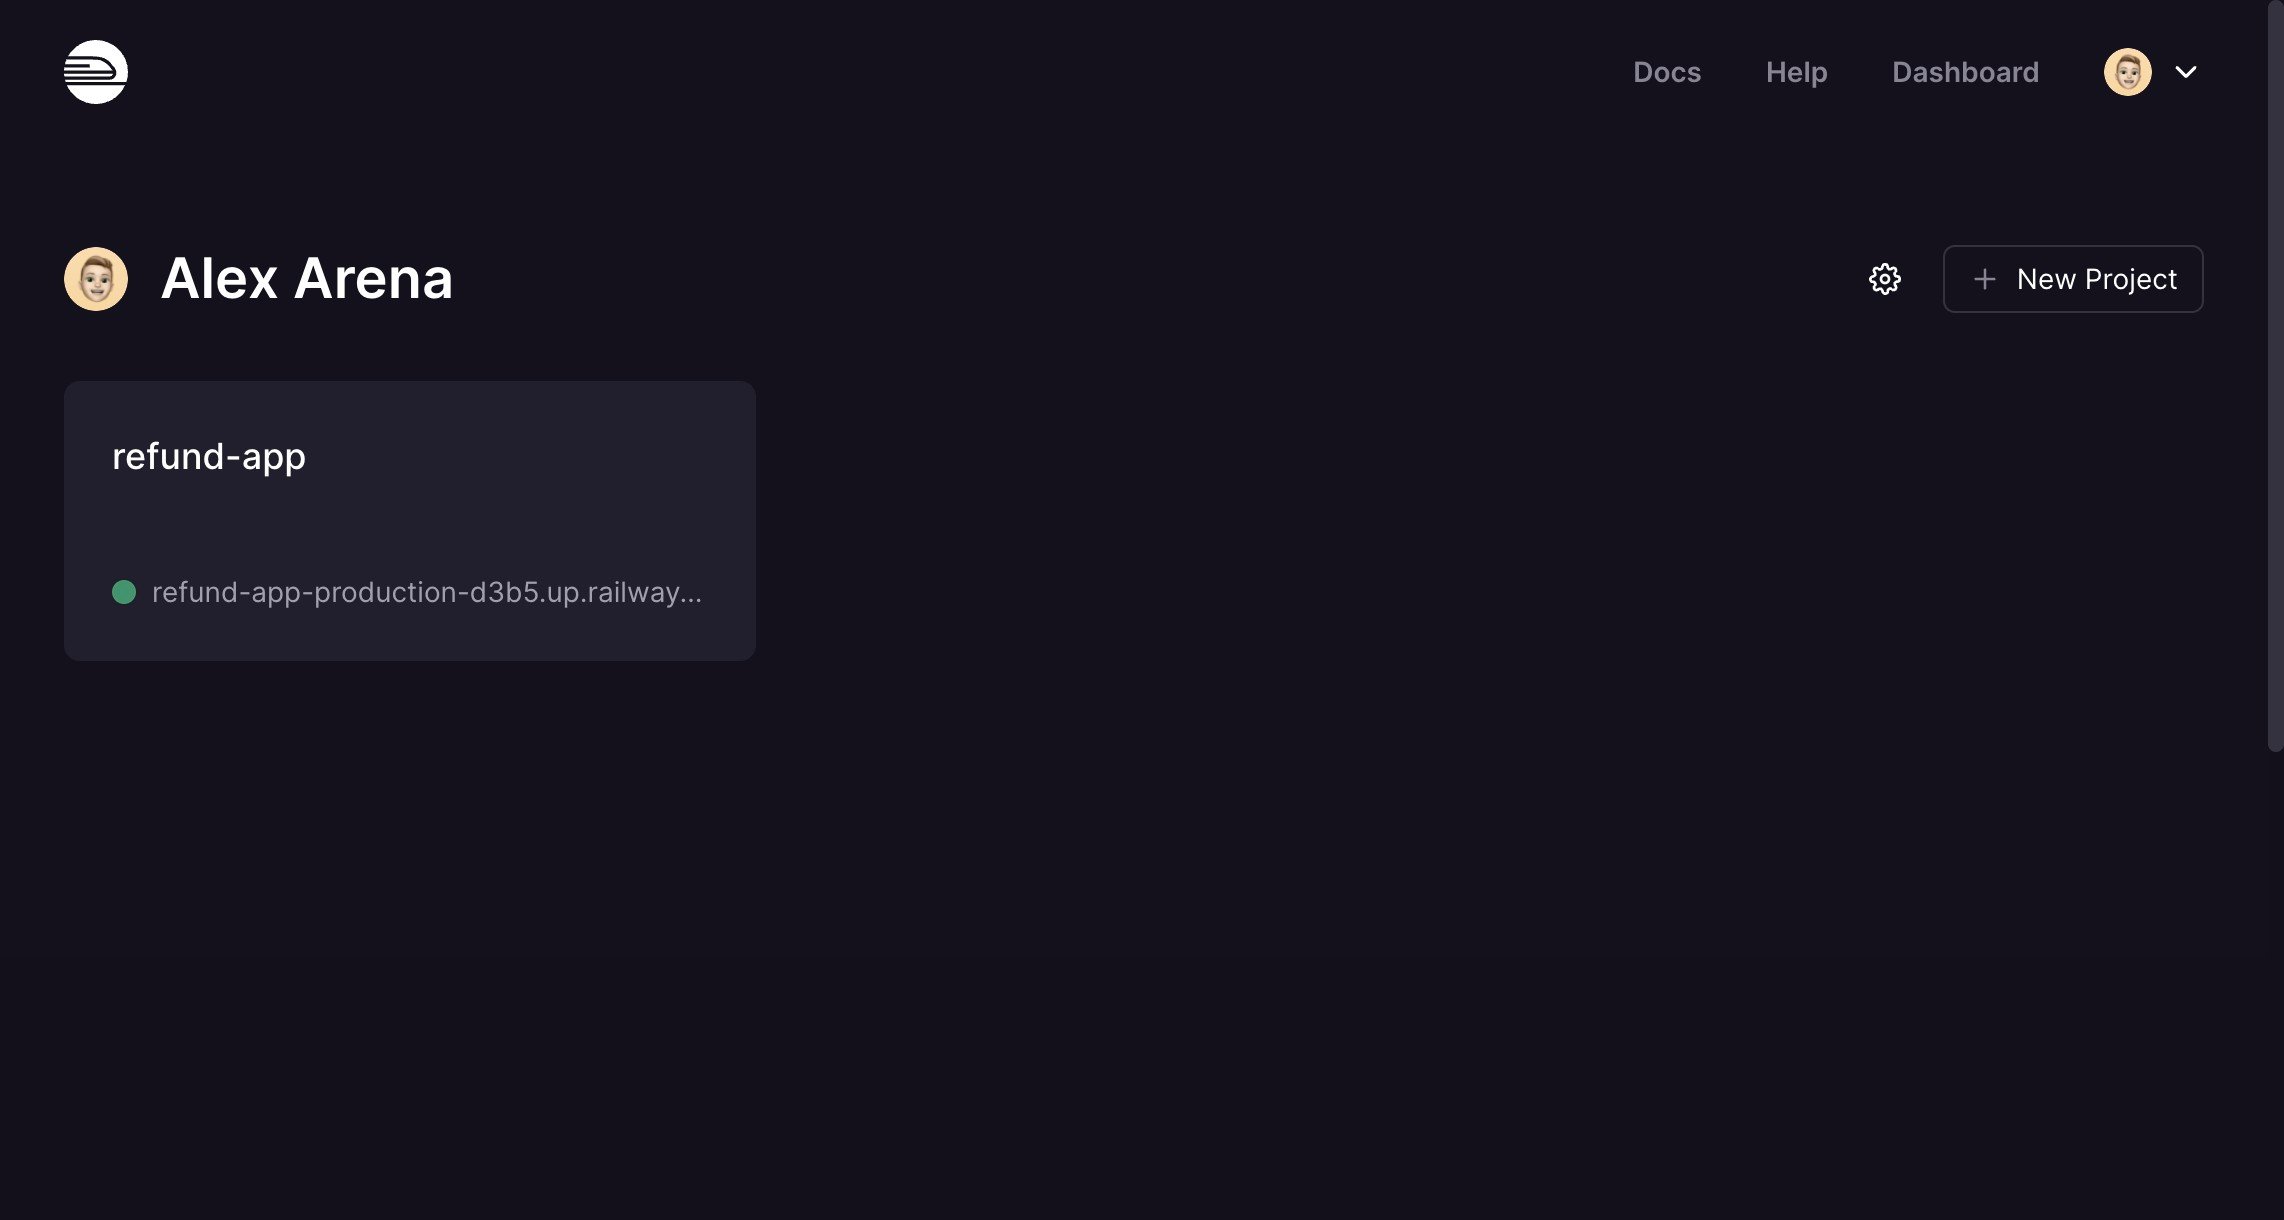
Now, when you visit the Railway dashboard, you should see your project listed:
Now, let's get an Interval "Live mode" API key and provide it to Railway. When you run Interval apps with Live mode keys, they're accessible to the members of your organization from the Actions page in your Interval dashboard.
From the Interval dashboard, return to the Keys page and choose Create live key. Enter a label for the key and press Create key.
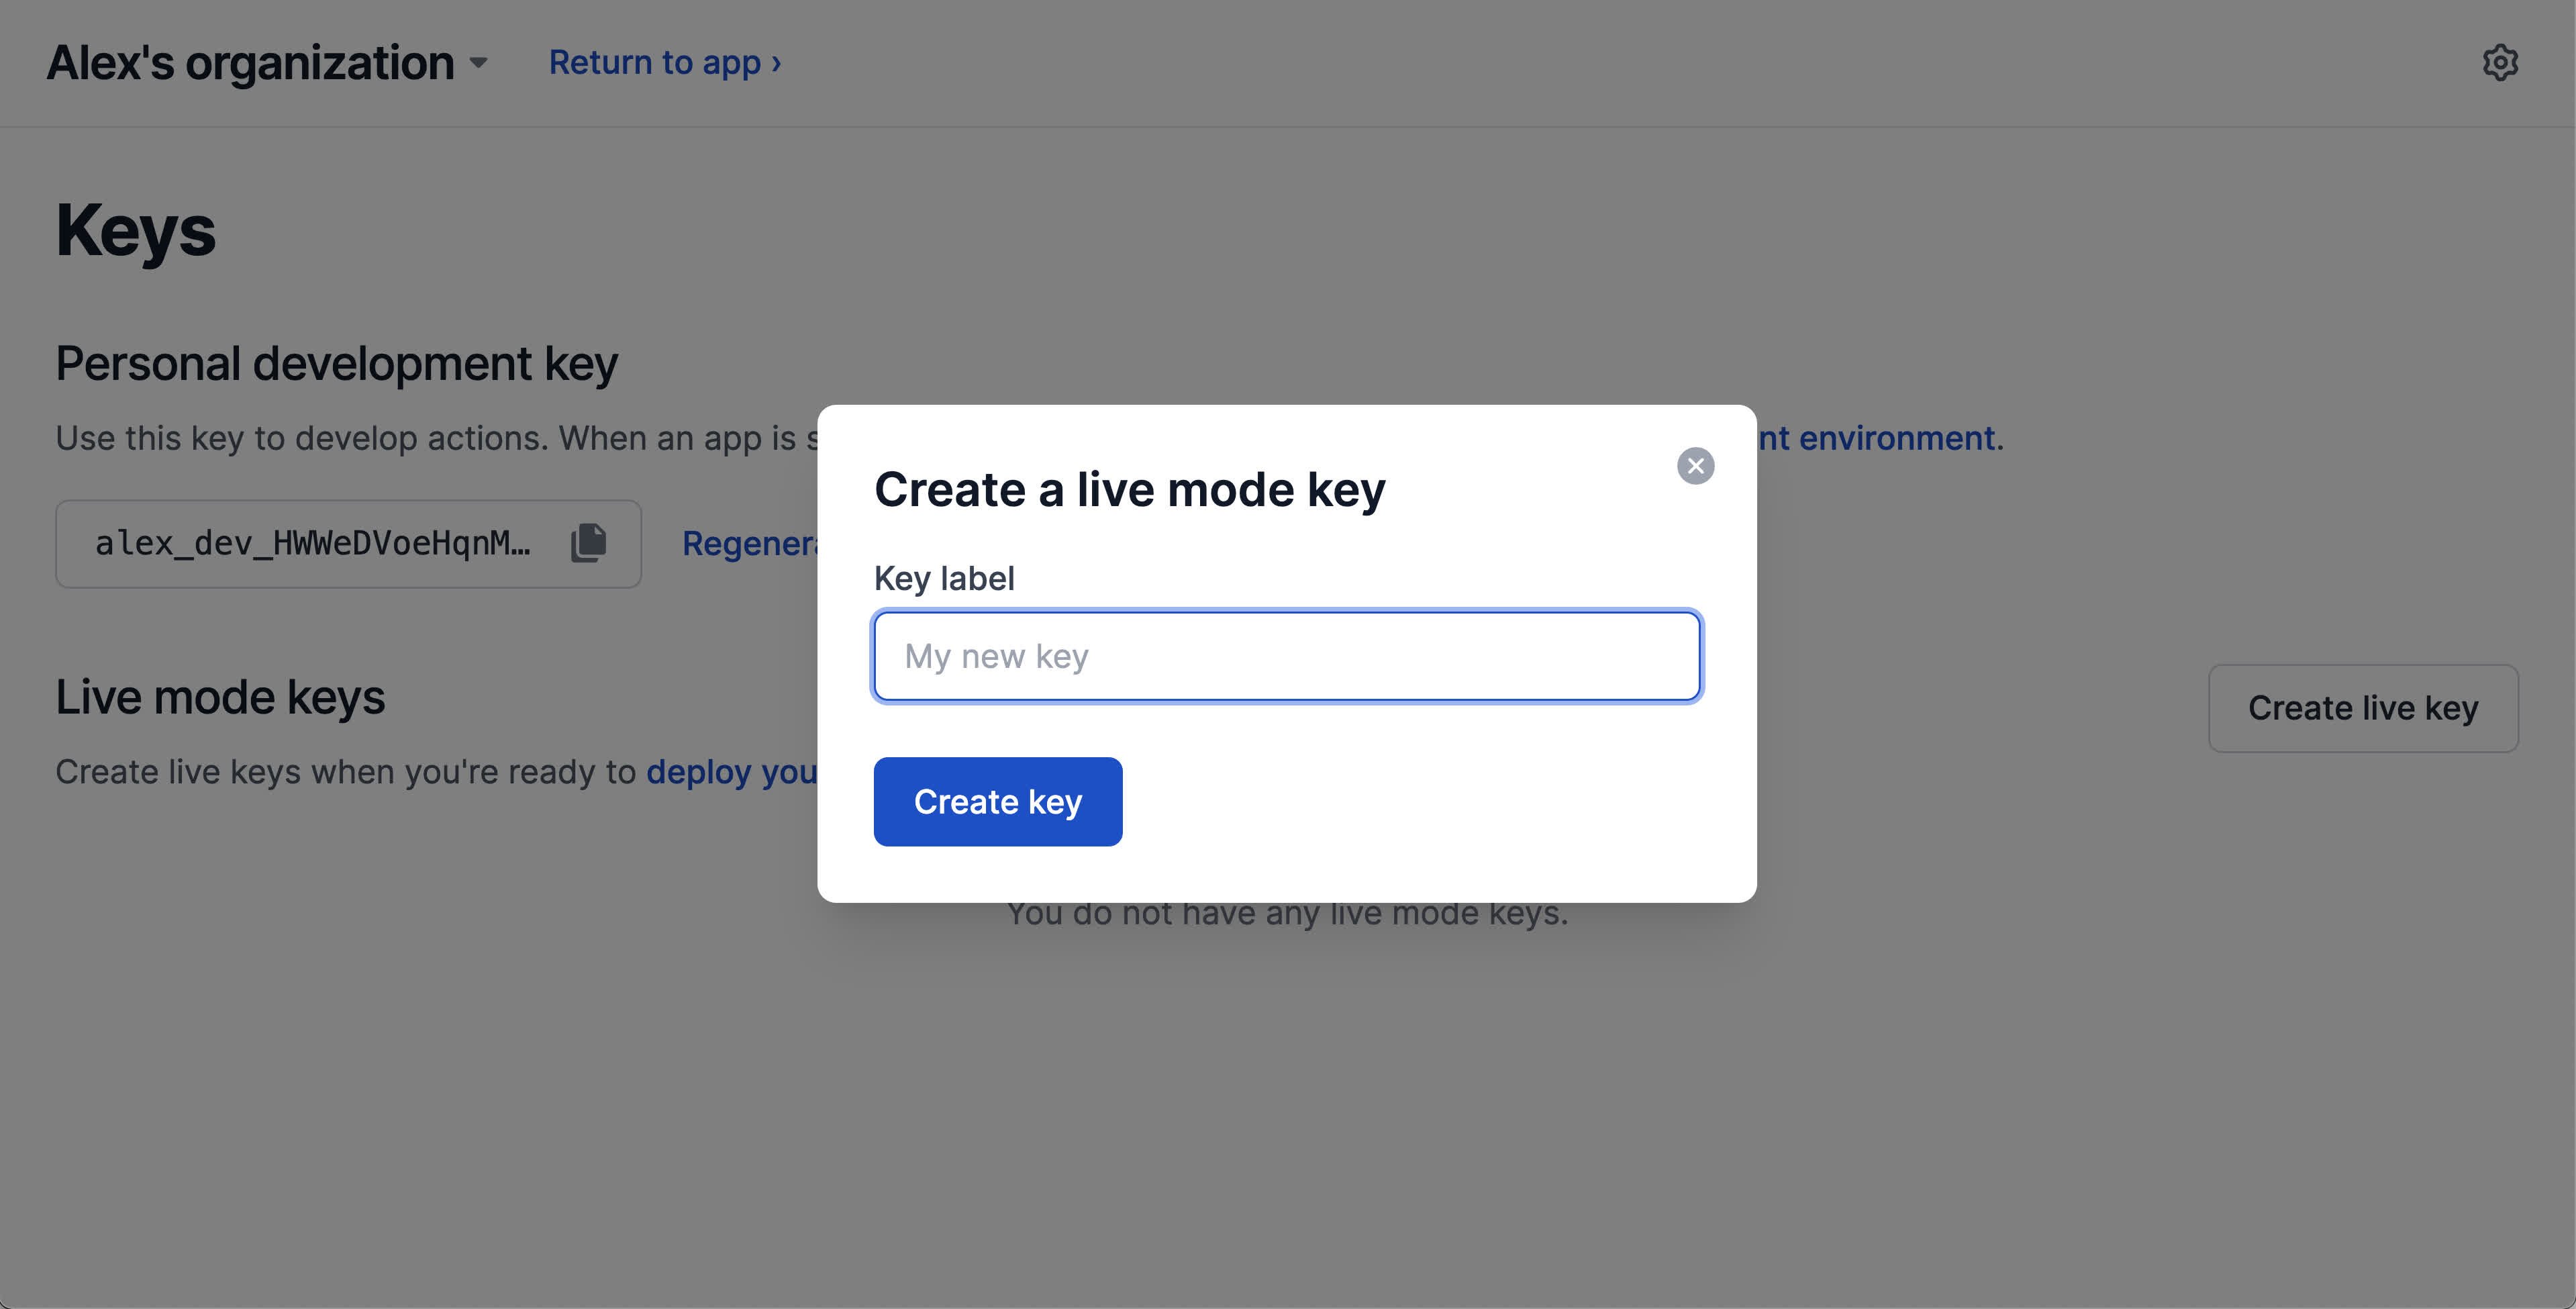
When your key has been created, it will only be displayed once. Click the key to copy it to your clipboard.
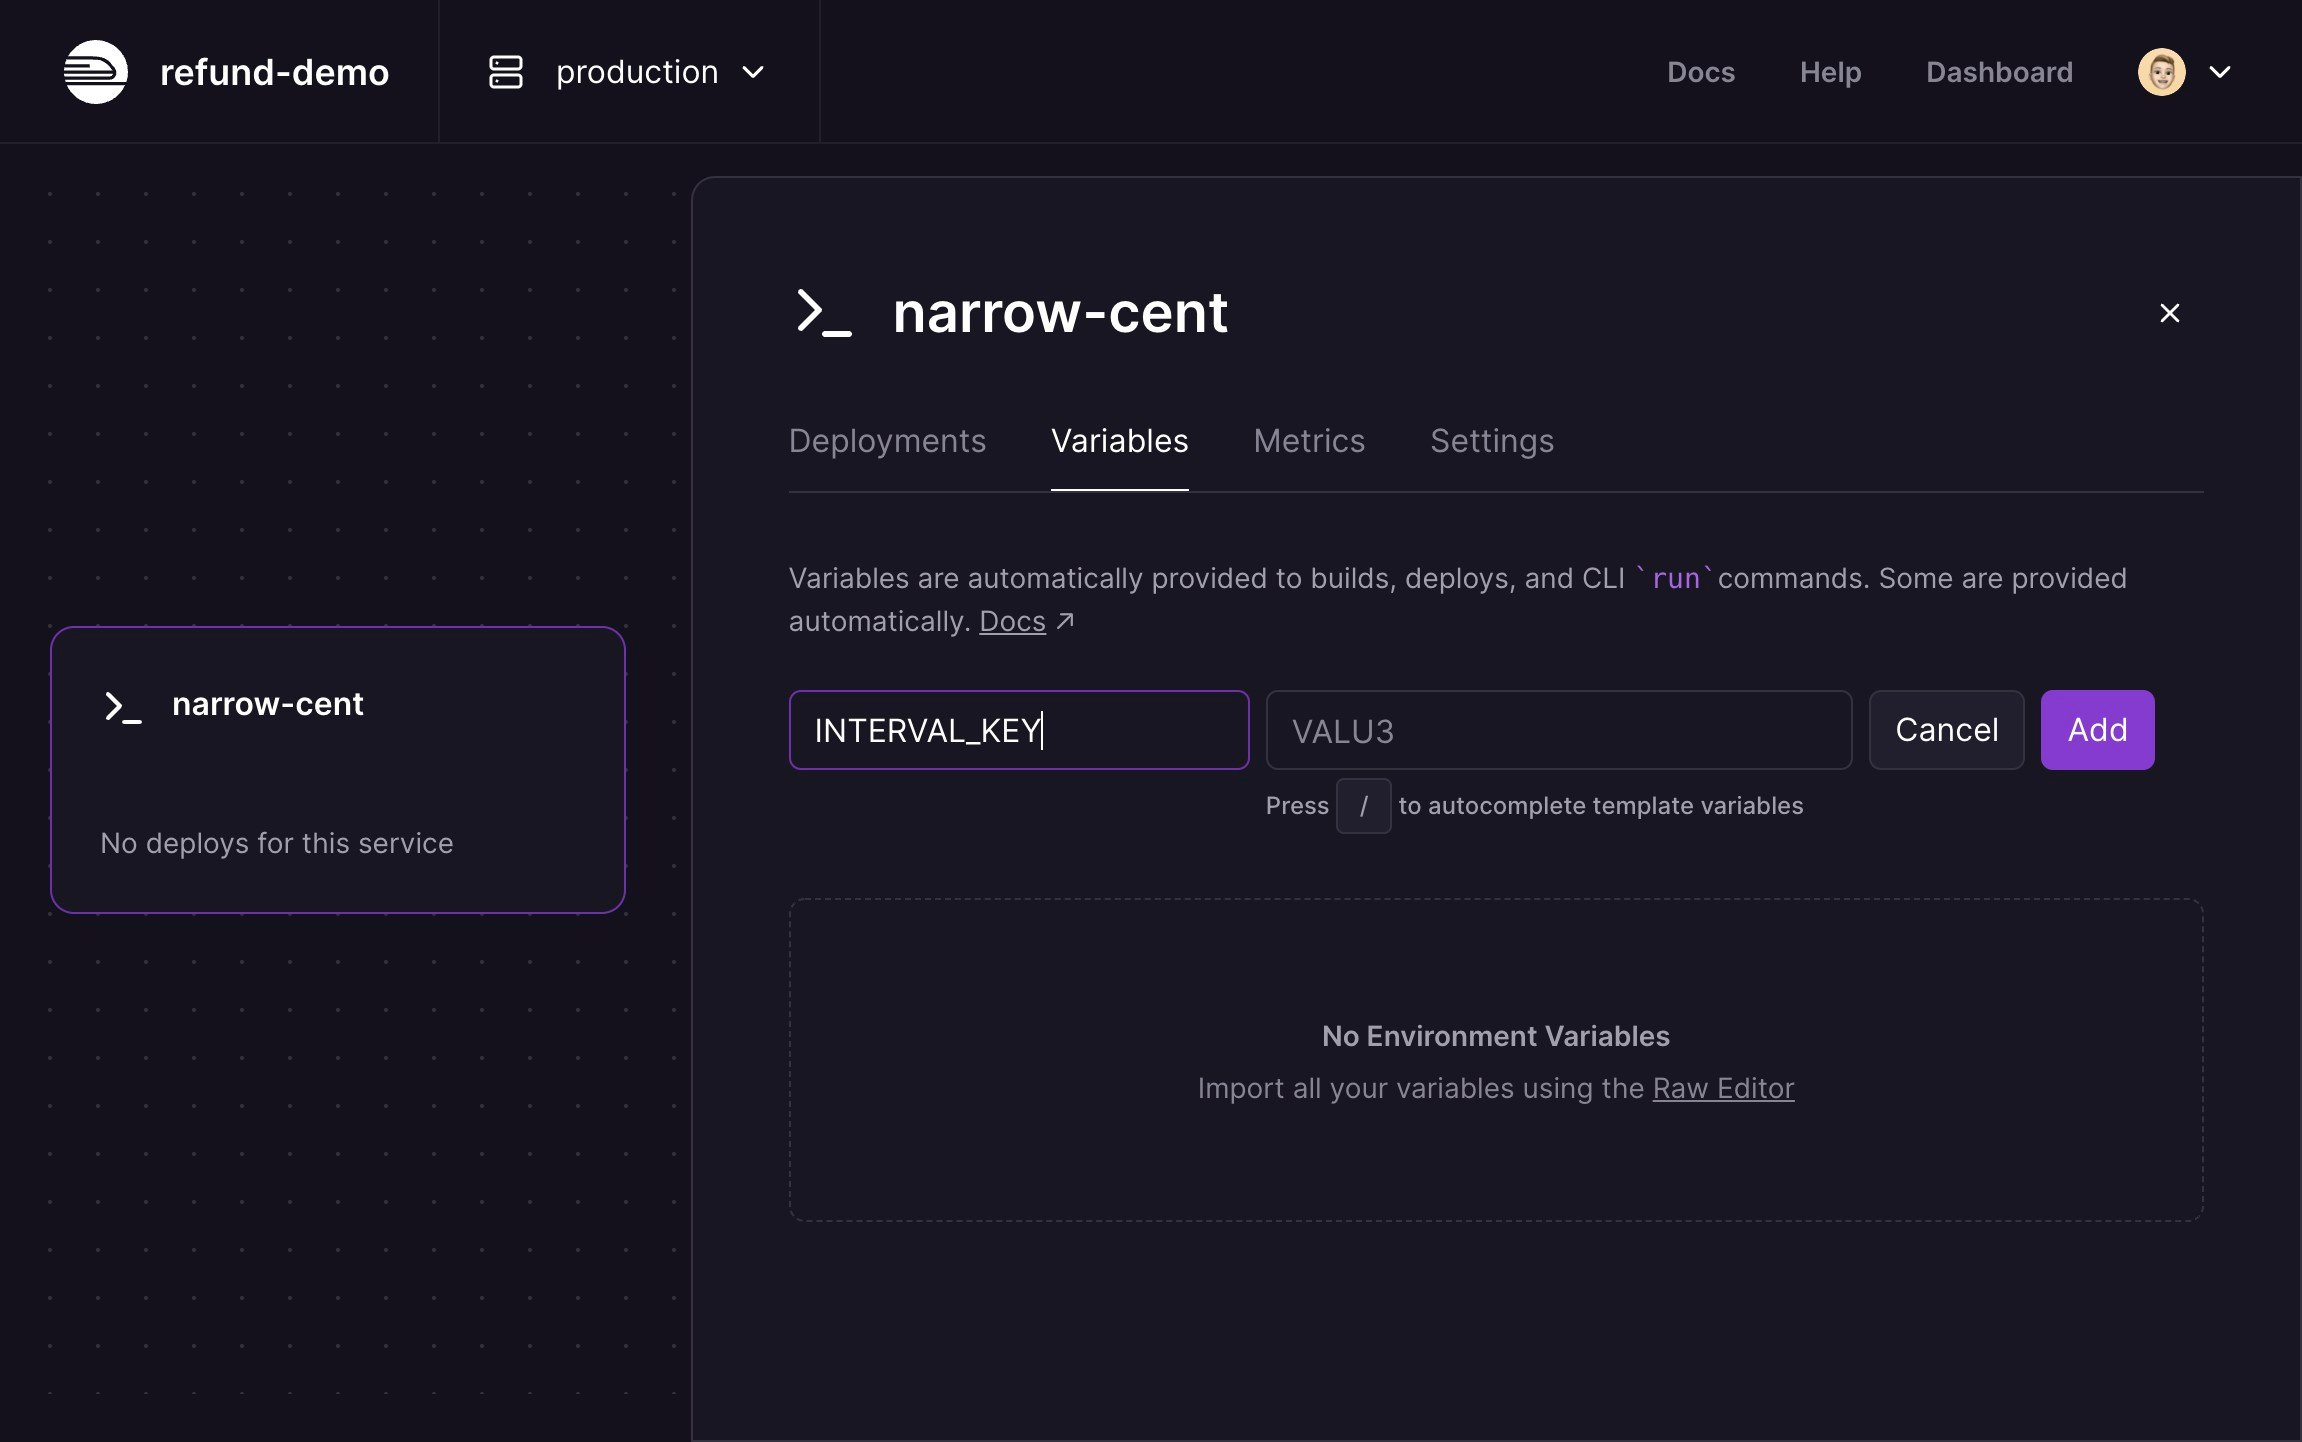
Now, let's move back to the Railway dashboard. Click on your project, choose Add a Service and choose Empty Service. This will create a new Railway service with a random name. Click the newly created service, then Variables and New Variable and paste the Interval API key that's on your clipboard as INTERVAL_KEY.
Now, let's move back to the Railway dashboard. Click on your project, choose Add a Service and choose Empty Service. This will create a new Railway service with a random name. Click the newly created service, then Variables and New Variable and paste the Interval API key that's on your clipboard as INTERVAL_KEY.
Lastly, we need to ensure that Railway installs the required dependancies for our Interval app. For now this just consists of the Interval SDK. Create a requirements.txt so that Railway can install interval-sdk when you deploy.
interval-sdk
With our Interval and Railway accounts correctly configured, we can finally push to a production environment. In the terminal, running the following will push our app to Railway:
railway up
This command will take a minute or so to complete, but when it succeeds you should see a messaging indicating that your deploy is live. We can verify that our project is successfully running by visiting the Railway dashboard and choosing our project. Pressing View logs under the Deployments tab should display a familiar message saying that Interval is connected.
Publishing and running
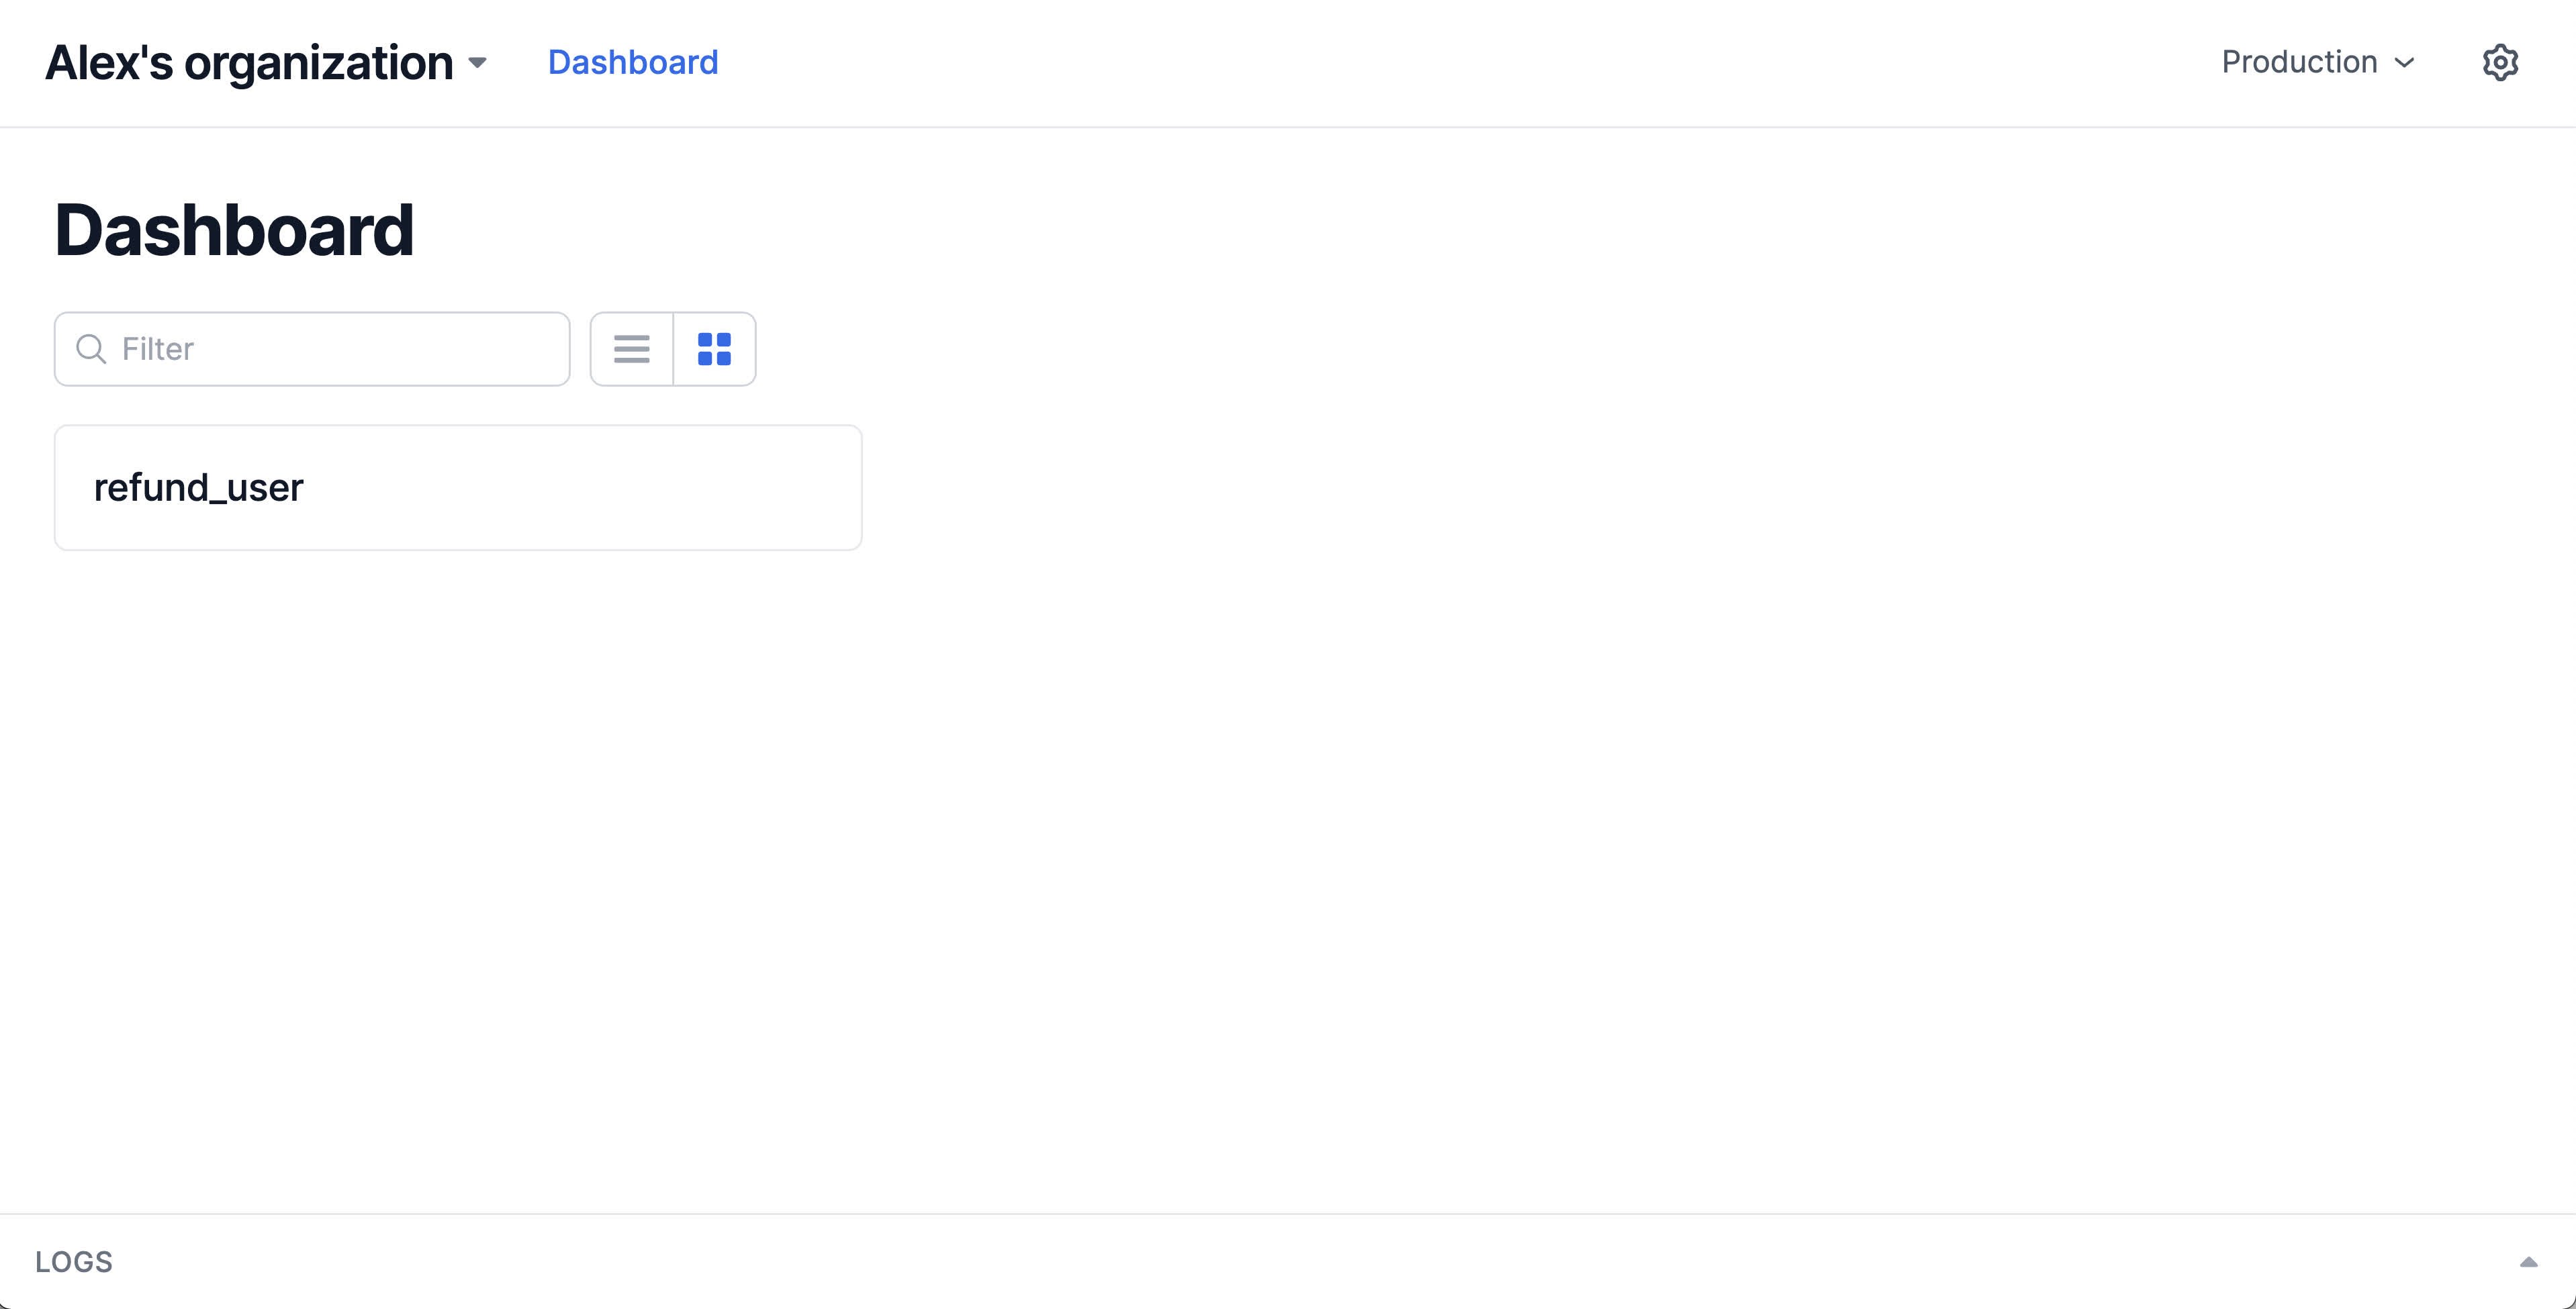
Now that our Railway deploy is complete, our Interval app is running in the cloud with a Live mode key. If we head to the Interval Dashboard, we'll see that a new action has been deployed:
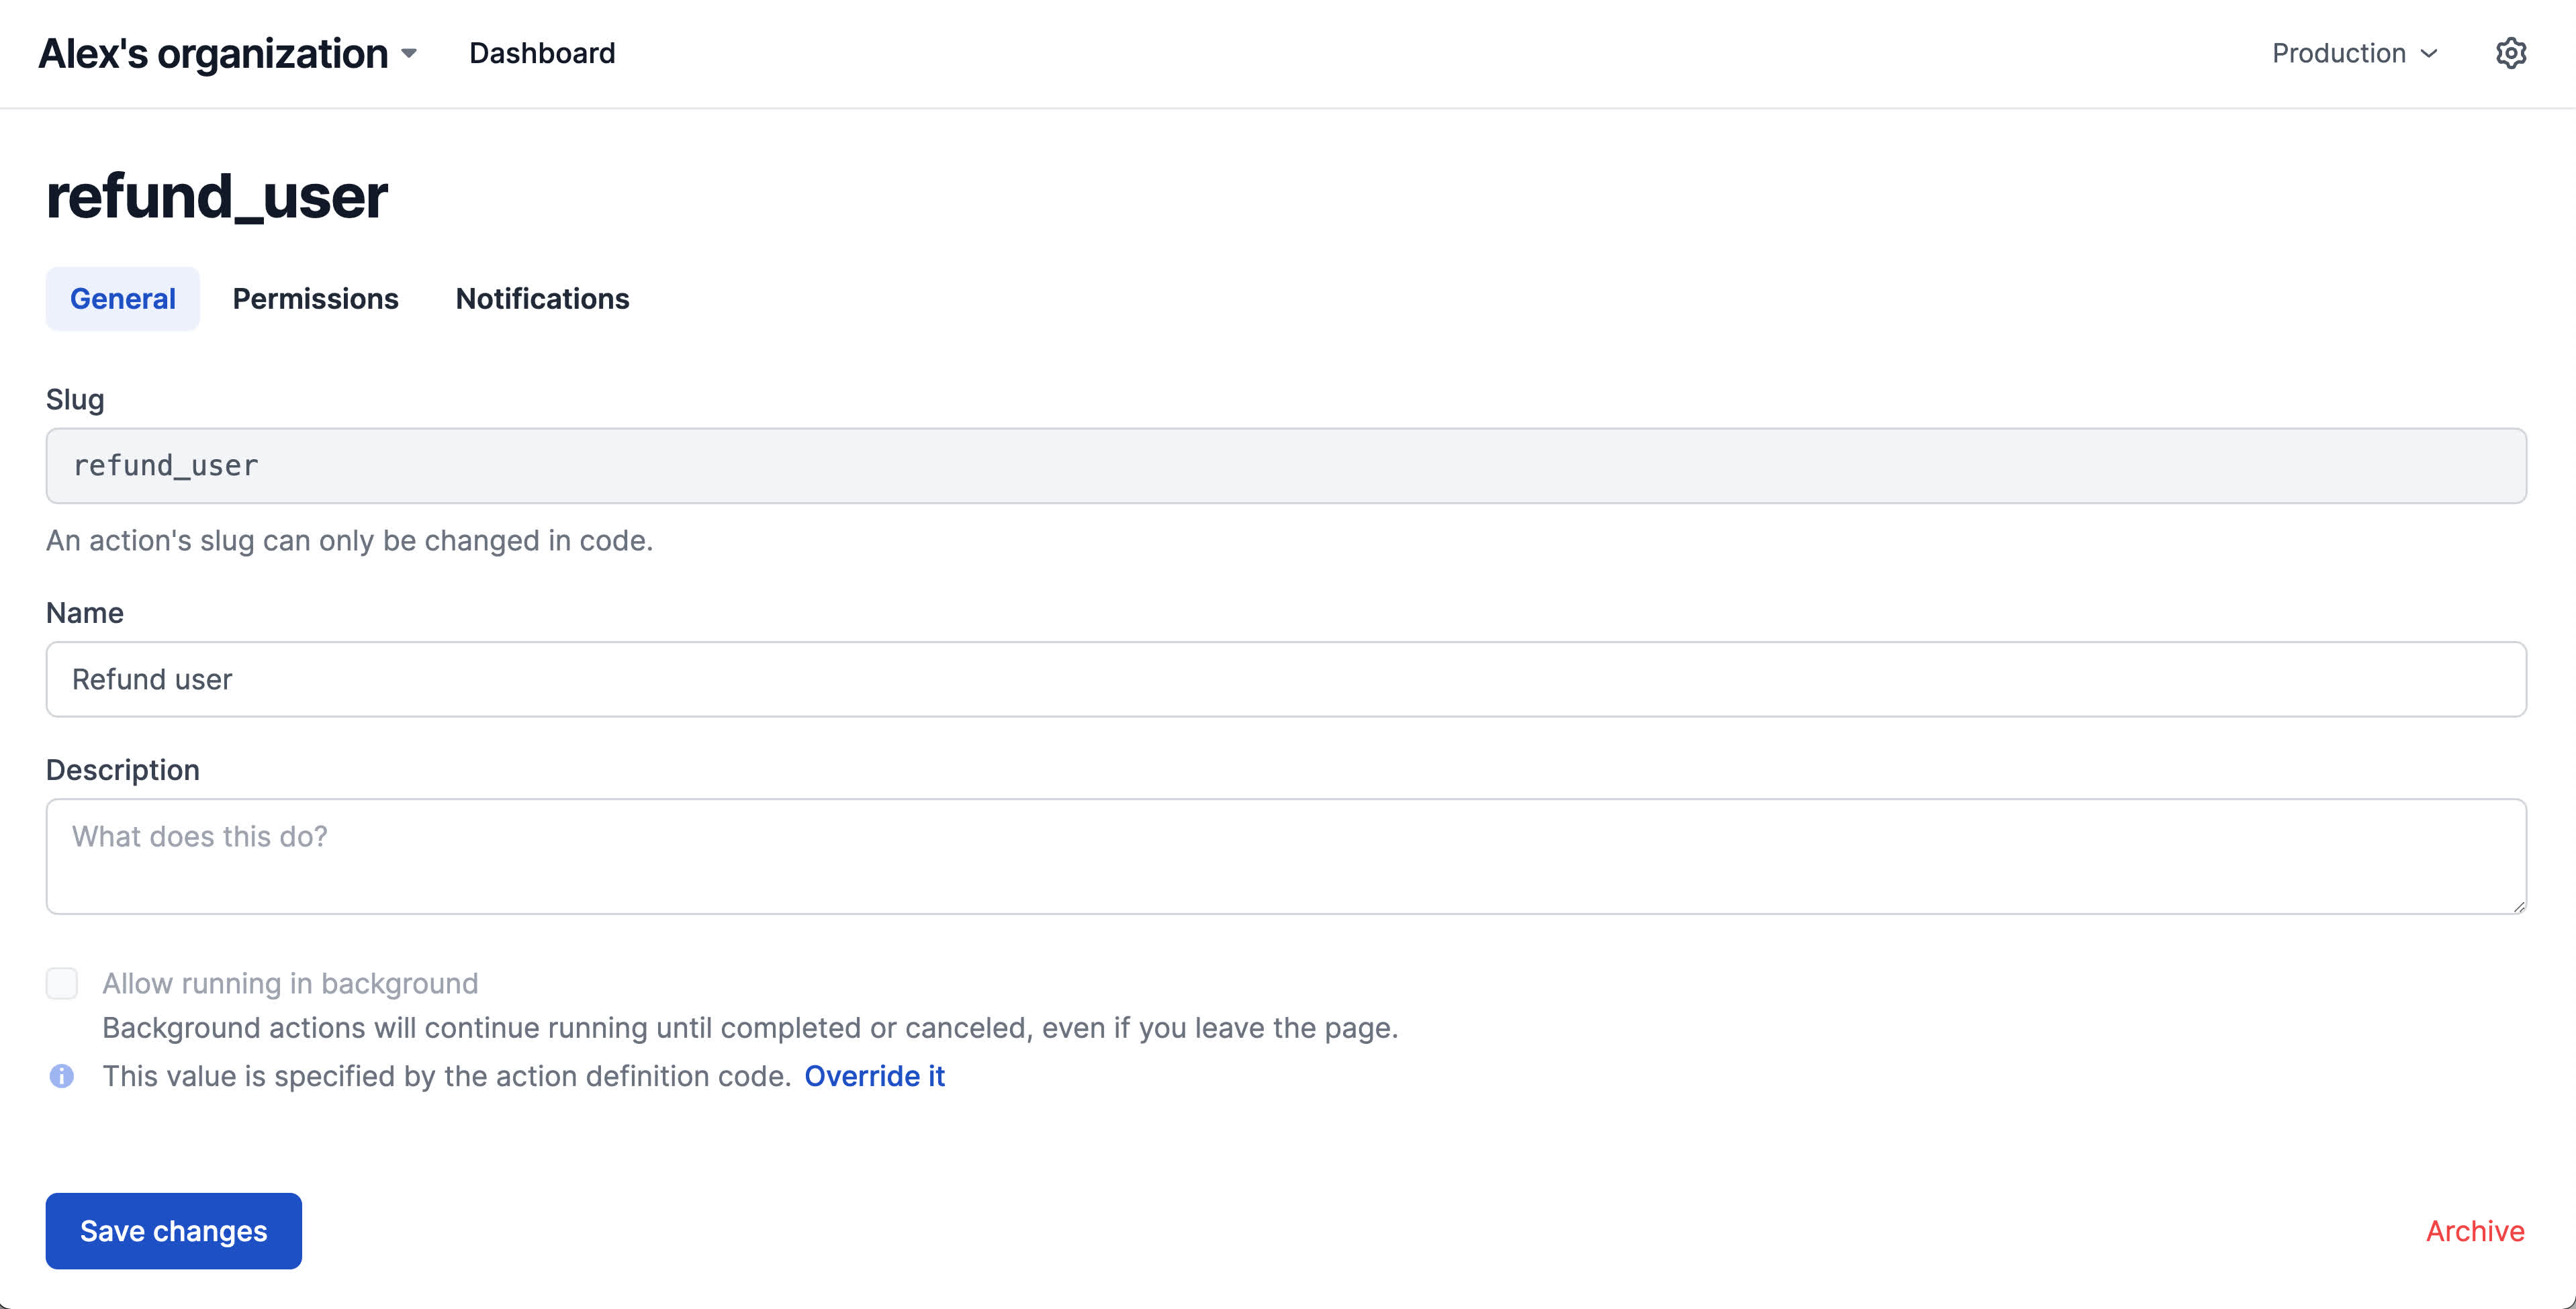
After deploying an action using a Live mode key, you'll be able to configure additional settings for the action.
Hover over the action and click the gear to visit the action's configuration page. Interval has automatically suggested a name for this action based on its slug, but you can edit this and optionally provide a description before publishing. From this screen, you can also configure other important functionality like restricting access to the action to only certain teams within your organization.
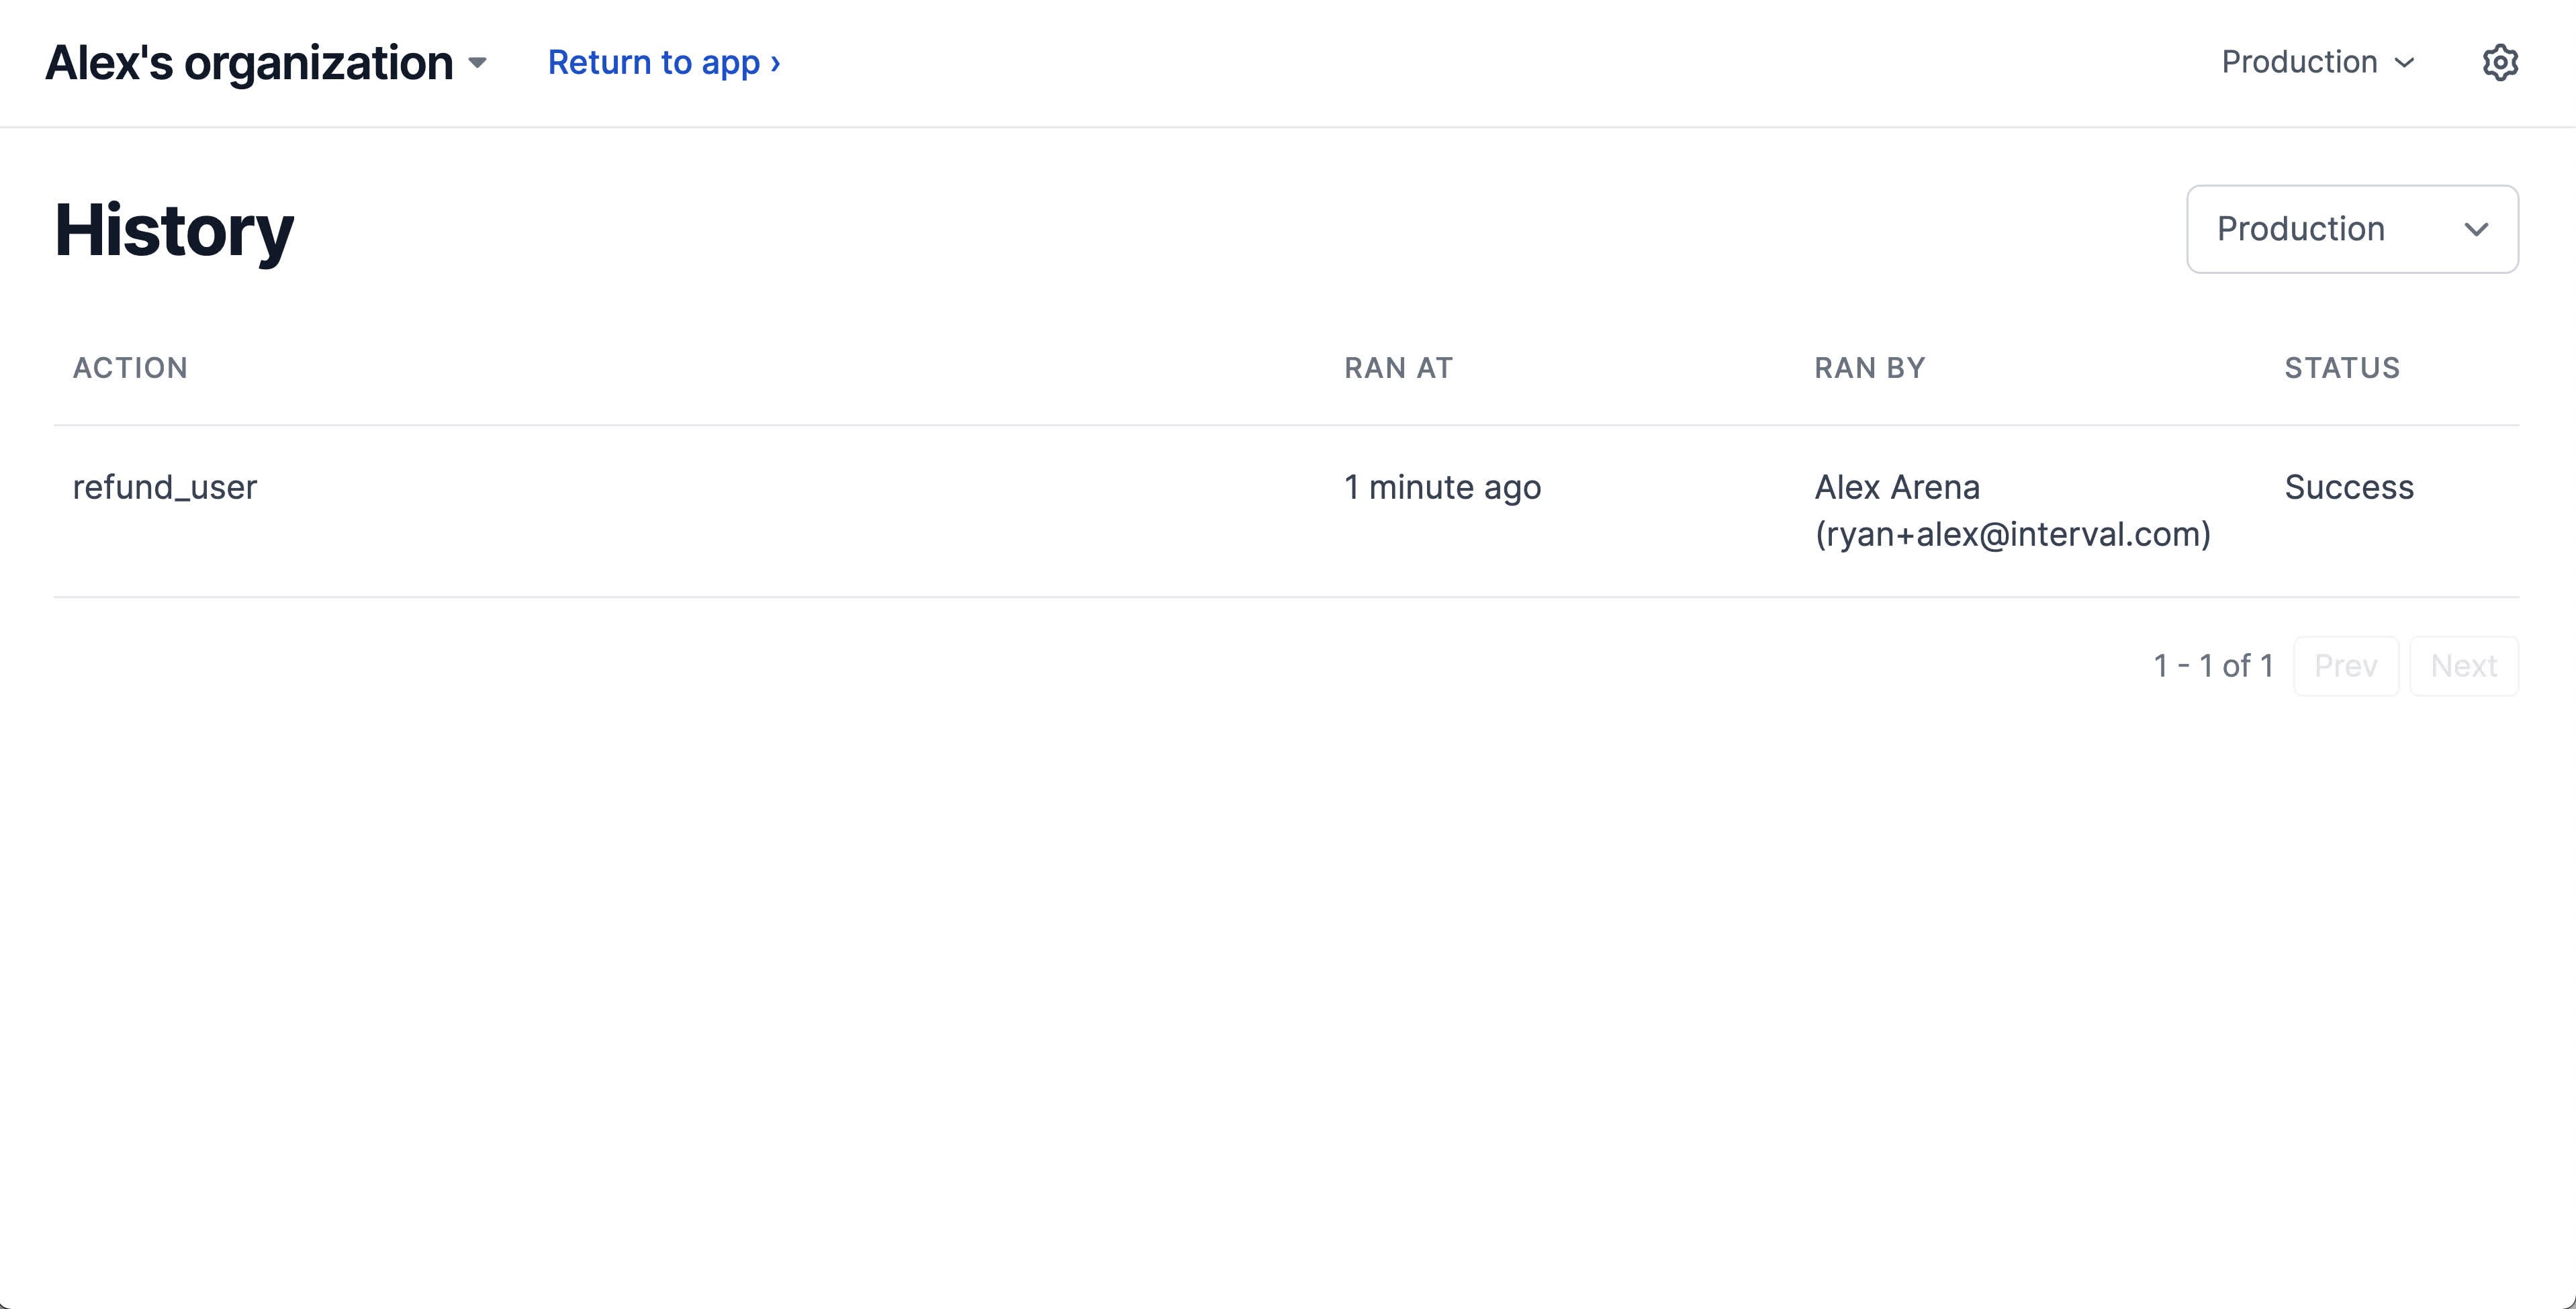
Let's click the action and run through it. Because we're using a Live mode key, every time an action is run, an audit log containing the action's return value and completed status is automatically stored and made accessible through the Action history page.
Navigating to the Action history page will display a complete history of action runs throughout your organization.
✅ Recap
In Part 3, we generated a Live mode API key, deployed to a cloud hosting provider, and made our app accessible to our team.
- Interval API keys can be generated from the Keys page of your Interval dashboard.
- The type of API key (Personal development key or Live mode key) you provide when creating your instance of the Interval class determines which mode your app will run in.
- Interval doesn't host your code. To make your app available to your team, you'll want to use a cloud hosting provider like Railway.